Cloudflare Tunnels: Stop Poking Holes in Your Firewall
Snapshot
Stop messing with port forwarding and sketchy SSL setups—use Cloudflare Tunnels to safely bridge your home lab to the internet.
The Requirement
Self-hosting apps is great until you actually leave your house. Whether you're running a personal cloud, a game server, or a management tool, a service that's locked to your local network is only half-functional.
You need a way to reach your tools from the outside world without turning your router into a "Swiss cheese" of open ports.
For this walkthrough, I’m setting up Cloudflare for my Zammad Helpdesk service. The goal is to get it live at zammad.weitzman.info so it’s accessible anywhere, securely.
The "old school" way to do this is Port Forwarding. You open ports 80 and 443 on your router and pray that bots don't find your hardware. But between CG-NAT (where your ISP doesn't even give you a real public IP) and the constant headache of managing Let's Encrypt certificates, I wanted a "Security-First" approach.
The Architecture
Instead of waiting for the world to knock on my door, I installed a small agent called cloudflared on my server. This agent reaches out to Cloudflare and creates a secure "bridge" (a tunnel).
- Host: Proxmox VE (Running on an R730)
- Guest OS: Ubuntu 24.04 (Noble)
- App: Zammad running in Docker Compose
- The Bridge: Cloudflare Zero Trust Tunnel
The Config
Step 1: Check the Local Service
Before building the bridge, make sure the house is standing. My Zammad Nginx container was listening on port 8080.
# Move to your app directory
cd ~/zammad-docker

# Make sure everything is green
docker compose ps
Expected: service-nginx -> 0.0.0.0:8080
Step 2: The Cloudflare Setup
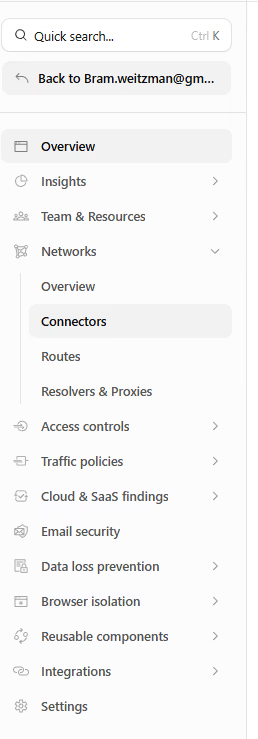
Log in to your Cloudflare Dashboard. Click Zero Trust in the sidebar.
Navigation Warning: Cloudflare loves moving things. Look under Networks > Tunnels.

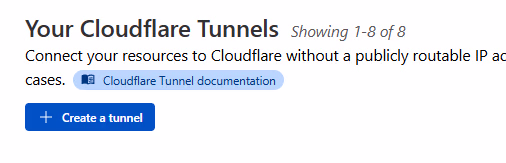
Click Create a Tunnel, select Cloudflared, and give it a name like prod-server-connector.

Step 3: Install the Agent
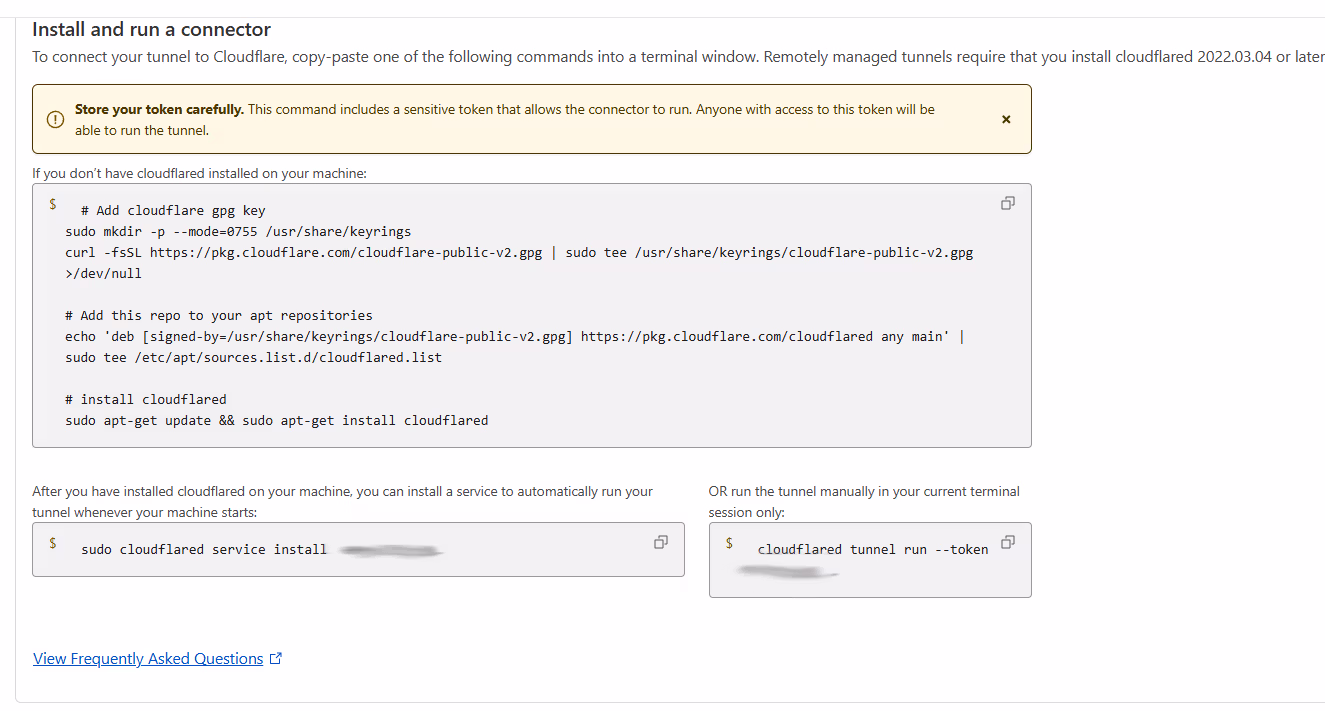
Cloudflare will give you a few options. Since we're on Ubuntu, choose Debian. Run these commands on your host VM:
# 1. Add the Cloudflare GPG key
sudo mkdir -p --mode=0755 /usr/share/keyrings
curl -fsSL https://pkg.cloudflare.com/cloudflare-public-v2.gpg | sudo tee /usr/share/keyrings/cloudflare-public-v2.gpg >/dev/null

# 2. Add the repo
echo 'deb [signed-by=/usr/share/keyrings/cloudflare-public-v2.gpg] https://pkg.cloudflare.com/cloudflared any main' | sudo tee /etc/apt/sources.list.d/cloudflared.list

# 3. Install the agent
sudo apt-get update && sudo apt-get install cloudflared

# 4. Link it to your account (Use the token from your dashboard)
sudo cloudflared service install [YOUR_UNIQUE_TOKEN_HERE]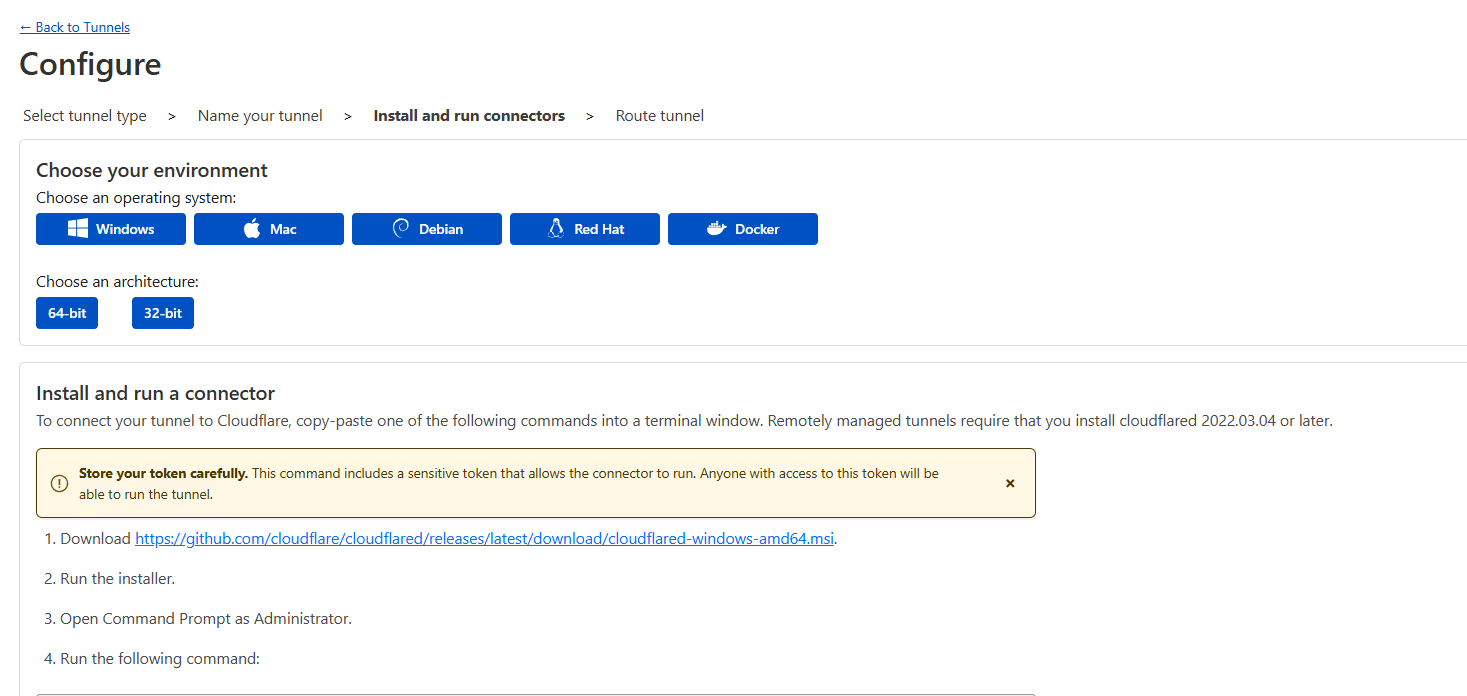
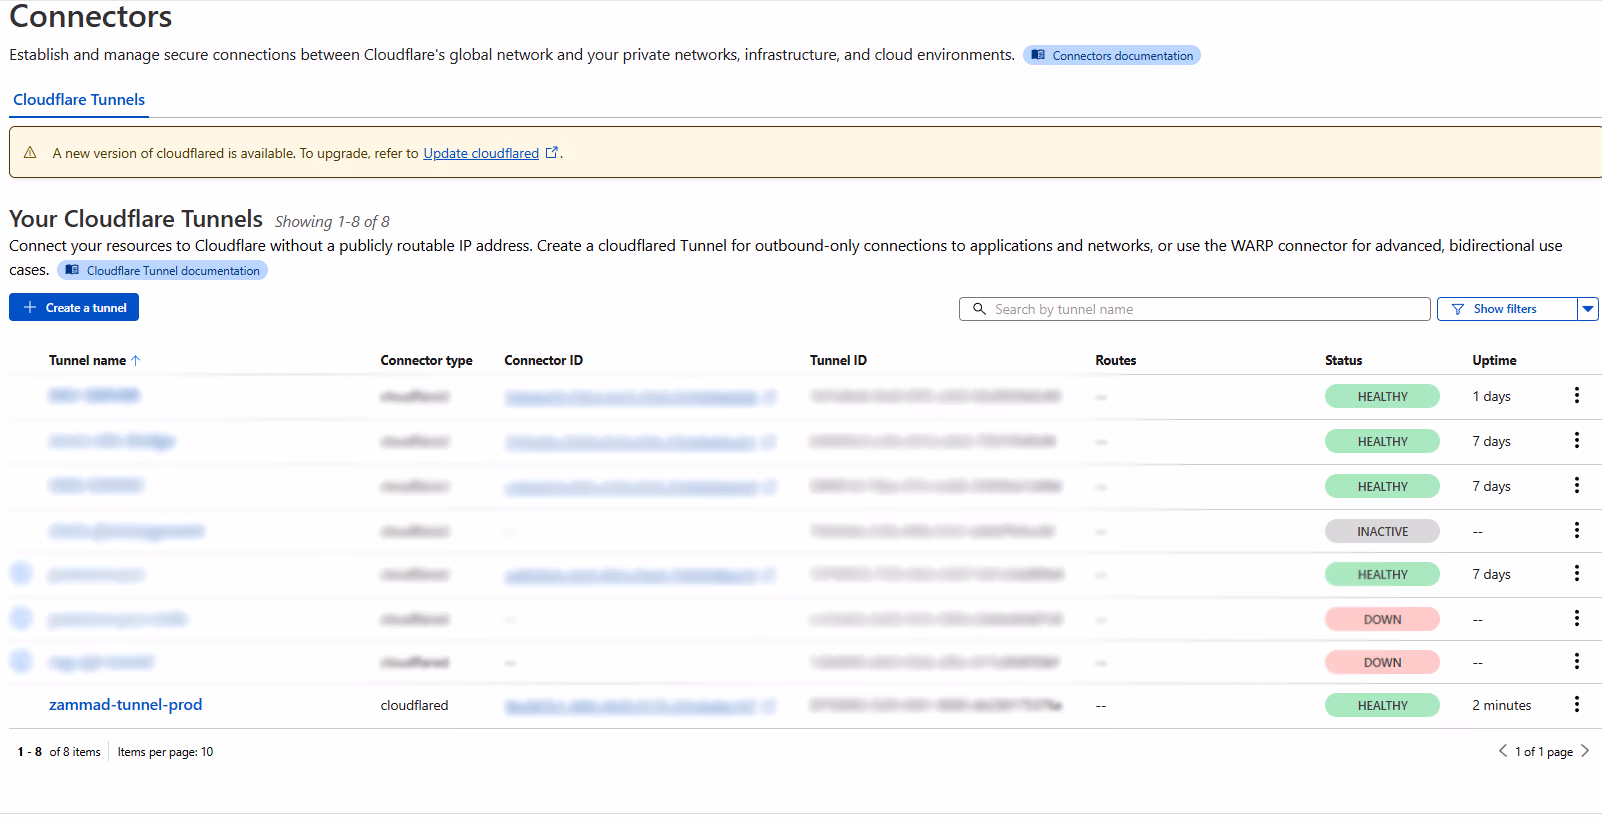
Once the service is installed locally, you should see the connector pop up in your dashboard.

Step 4: Map the Hostname
Now we tell Cloudflare where to send the traffic. In the Public Hostname tab, click Add a public hostname.
- Subdomain: zammad | Domain: weitzman.info
- Service Type: HTTP | URL: localhost:8080
Hit Save.
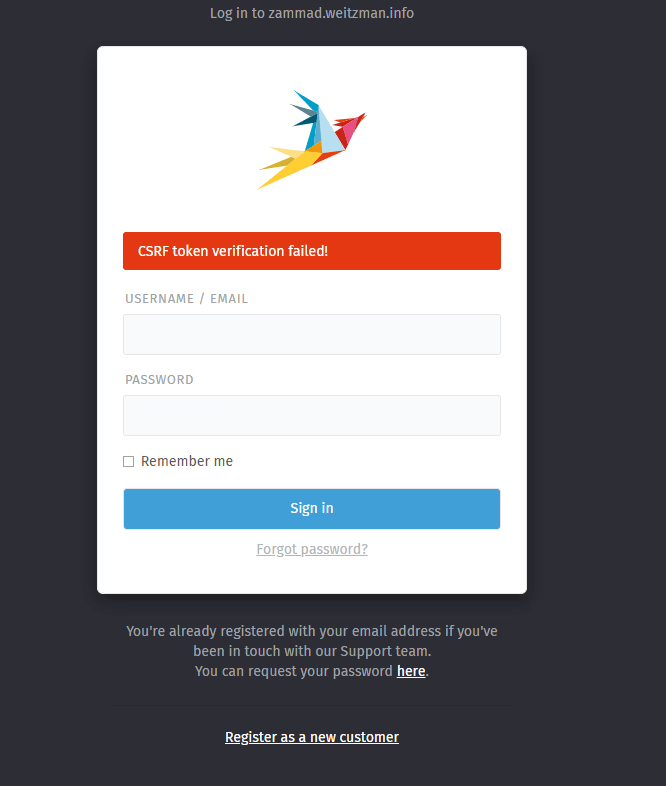
The Gotchas: Troubleshooting CSRF Errors
If you're using this for Zammad (or many other Rails-based apps), you'll reach the login page only to be met with a nasty "CSRF token verification failed" error.
This happens because Zammad is protective. It sees the request coming in via HTTPS from Cloudflare but knows it's sitting on an internal HTTP port. It thinks someone is hijacking the session. While you can fix this in the UI, it's better to bake the fix into your docker-compose.yml.
The Fix: Align Your Environment
Zammad needs to know its own name, its protocol, and which proxy to trust. Update your environment variables:
| Variable | Example Value | Purpose |
|---|---|---|
| ZAMMAD_FQDN | zammad.weitzman.info | Sets the authorized domain. |
| ZAMMAD_HTTP_TYPE | https | Tells Zammad it's behind an SSL proxy. |
| RAILS_TRUSTED_PROXIES | ['127.0.0.1', '172.18.0.1'] | Permits headers from your proxy. |
Pro Tip: If you aren't sure what IP to use for RAILS_TRUSTED_PROXIES, check your logs while trying to log in:
docker compose logs -f zammad-railsserverLook for the IP in the "Started POST..." line. That’s your culprit.
After updating your .env or docker-compose.yml, recreate the containers:
docker compose up -d --force-recreateCrucial: Clear your browser cookies or use an Incognito window after this, or the old "bad" token will keep haunting you.
Why This Matters
Your home IP is now a ghost. All traffic is proxied through Cloudflare, and you didn't have to touch a single firewall rule on your router.
Bonus Tip: Now that it's behind Cloudflare, go to Access > Applications and add an MFA policy. You can force yourself to log in via Google or GitHub before the Zammad page even loads. That’s real Zero Trust.
Back to Projects